Photoshop�ϳ��L����������L�i¹��Ӣ��
����Դ�� Tutsplus.com�����x���� Jenny Le �o�҂����������ʵ����£��̳�����Ҫ���زģ�������L�i¹�ϳ�PS�̳��ز�
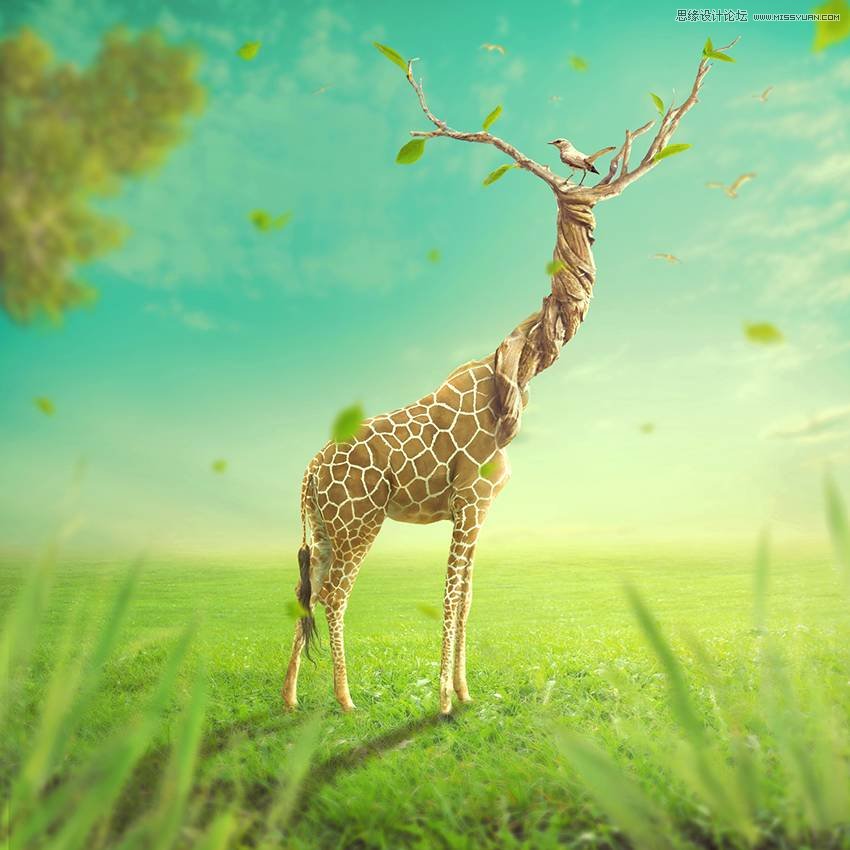
�ȿ���Ч���D
What You'll Be Creating
In this tutorial I'll show you how to use Adobe Photoshop to create a surreal giraffe using a variety of photo manipulation techniques.
First we'll build the base scene using images of a meadow and the sky. Later we'll add the giraffe, create a neck from a twisted tree, and add some branches. After that, we'll import a standing bird and some flying ones, and we'll add leaves and grass blades. We'll use several adjustment/color fill layers to complete the final effect.
1. How to Build the Base Scene
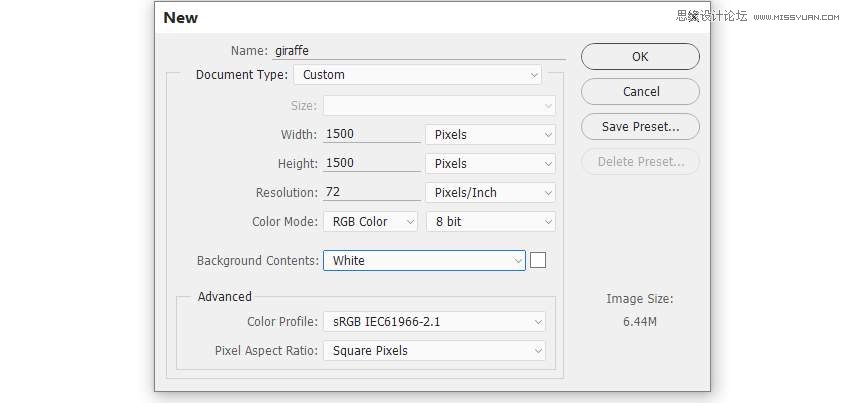
Step 1
Create a new 1500 x 1500 px document in Photoshop with the given settings:
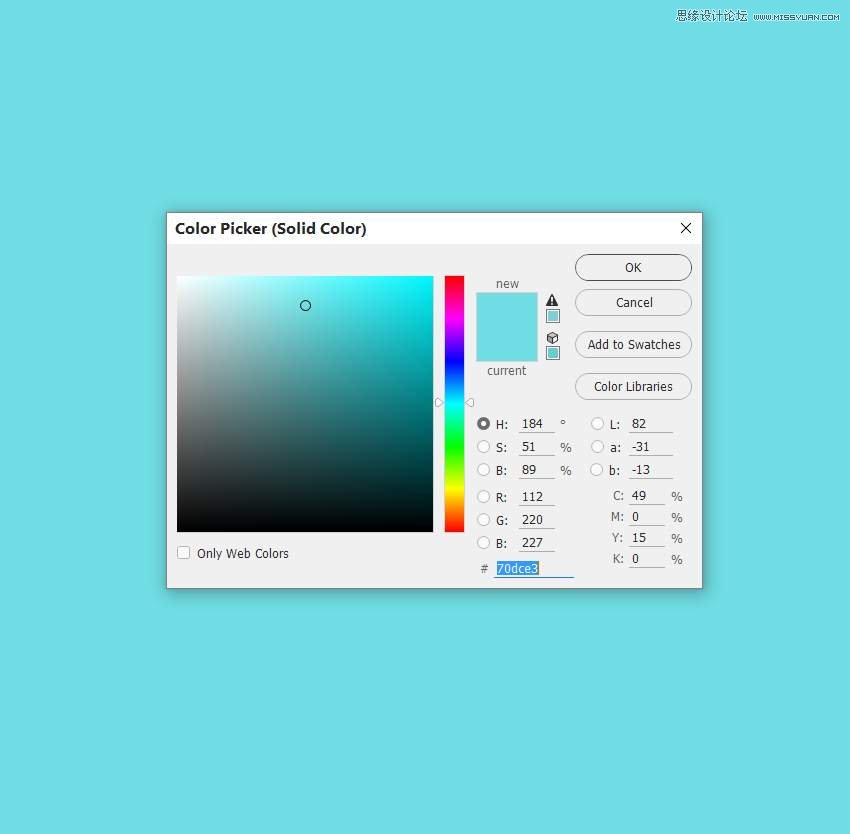
Step 2
Go to Layer > New Layer > Color Fill and pick the color #70dce3.
Step 3
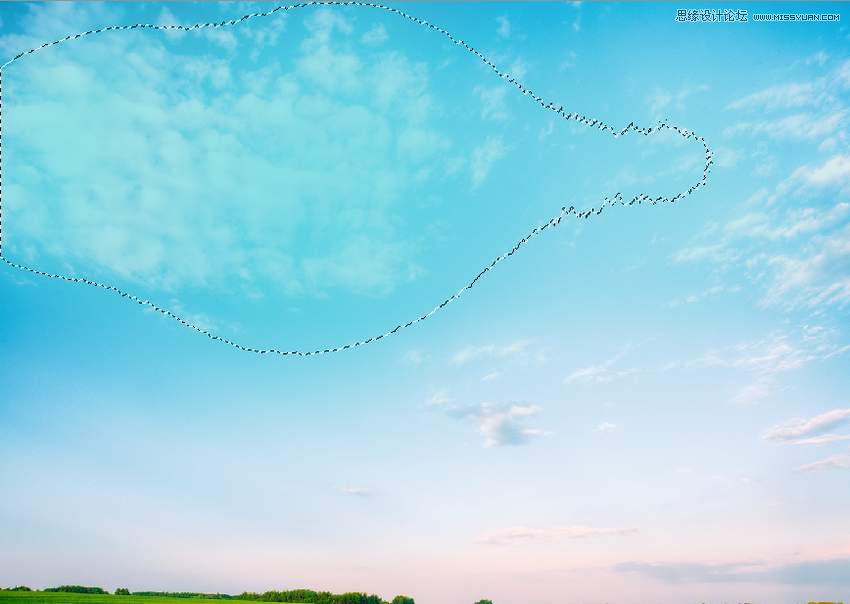
Open the sky image. Drag this image into the cyan canvas using the Move Tool (V) and place it in the upper half.
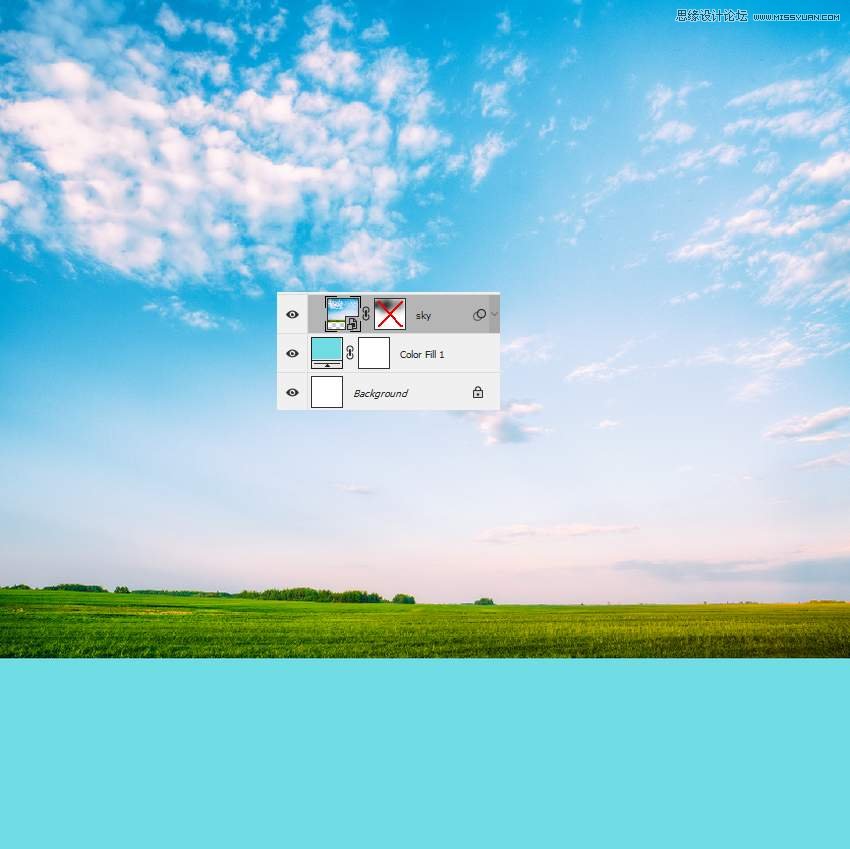
Click the second icon at the bottom of the Layers panel to add a mask to this layer. Activate the Brush Tool (B) and use a soft round one with black color (soft black brush) with the Opacity about 30% to reduce the visibility of the clouds in the sky on the top left.
Step 4
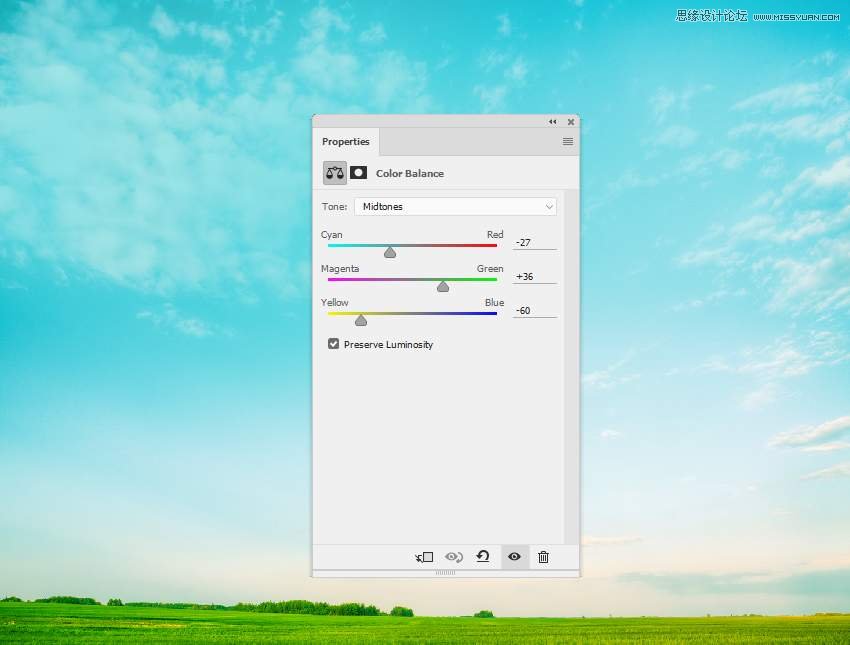
Create a Color Balance adjustment layer above the sky and set it as Clipping Mask. Change the Midtones settings to match the color of the sky with the background.
Step 5
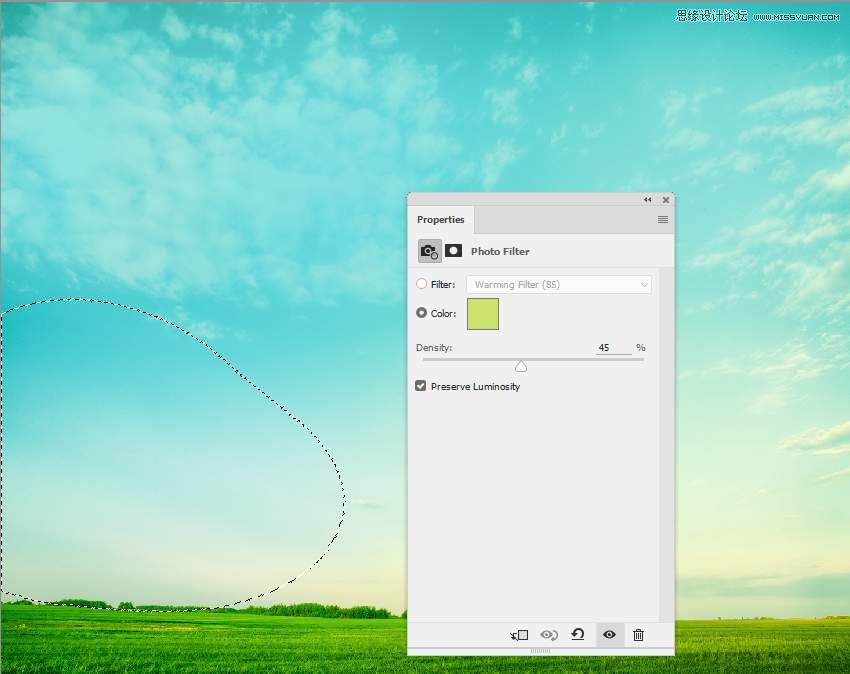
Make a Photo Filter adjustment layer and pick the color #cbe36b. On this layer mask, use a soft black brush to erase the effect on the bottom of the sky.
Step 6
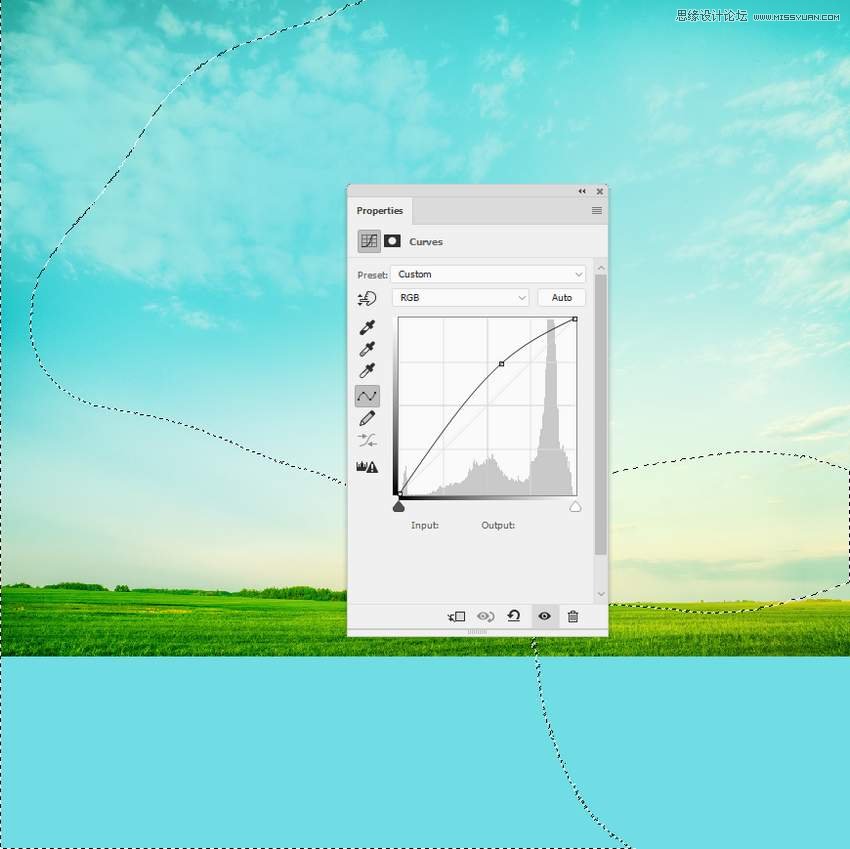
Add a Curves adjustment layer to brighten the sky. On this layer mask, use a soft black brush to erase the left as we're aiming to add the main light on the right.
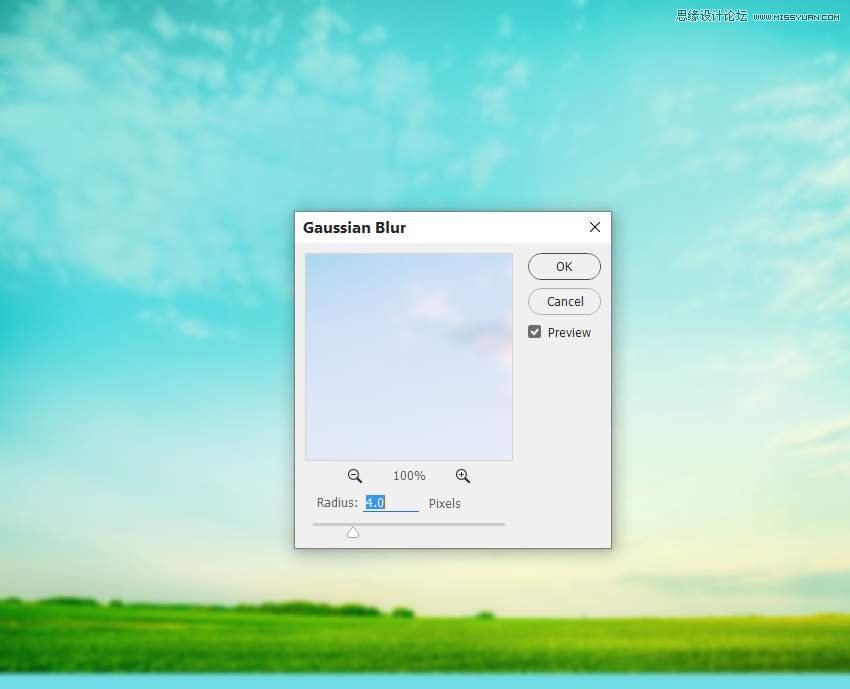
Step 7
On the sky layer, go to Filter > Blur > Gaussian Blur and change the Radius to 4 px. This step is to add some depth to the scene.
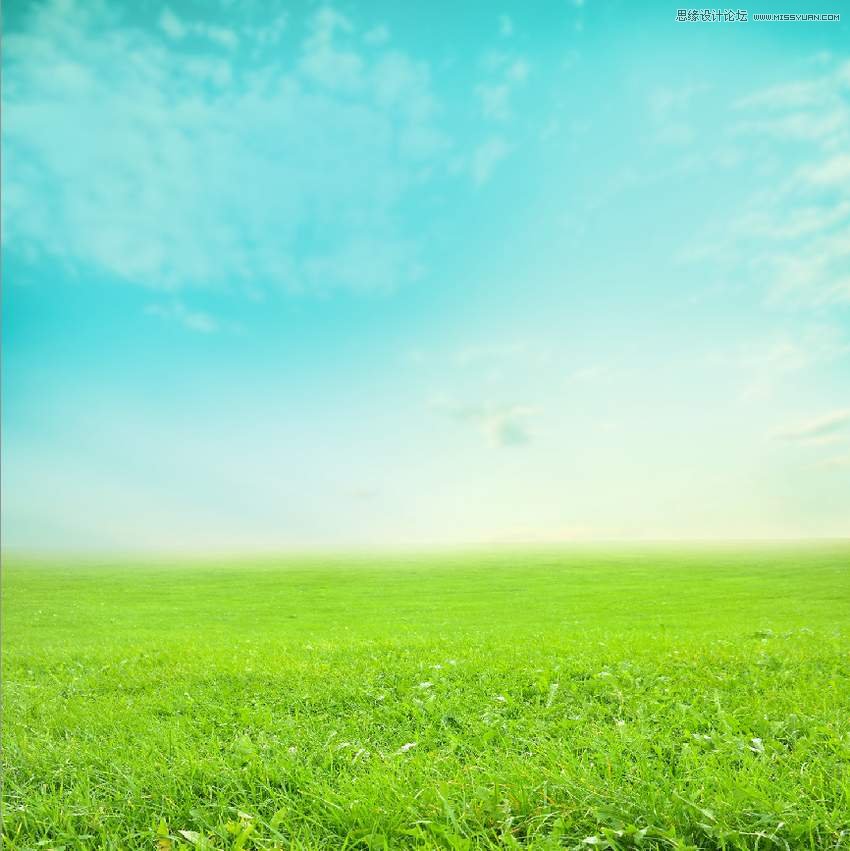
Step 8
Drag the meadow image into the main canvas and place it in the bottom half. Use the Free Transform Tool (Control-T) to change the meadow's perspective. Convert this layer to a Smart Object.
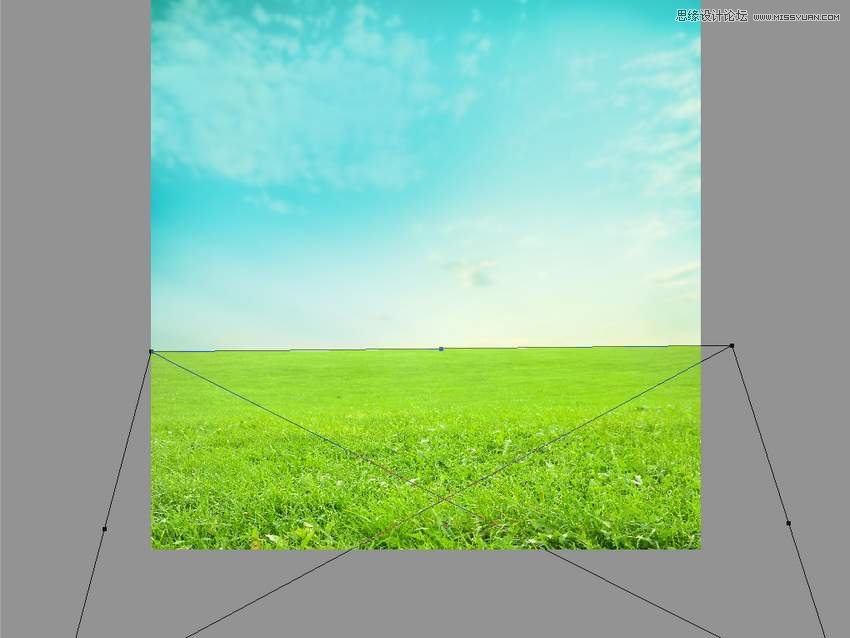
Add a mask to this layer and use a soft black brush to remove the hard edges of the meadow and blend it with the horizon of the sky.
 ��ǵ���
-
 Photoshop�������L�������ƬЧ����Ӣ��2018-04-23
-
 Photoshop�ϳ��L����������L�i¹��Ӣ��2018-04-23
-
 Photoshop�ϳɱ�����Ч�Ľ��~������Ӣ��2018-02-10
-
 Photoshop�ϳɉ����L���ɭ�ֈ�����Ӣ��2018-02-10
-
 Photoshop�ϳ�����ʩ��������Ӣ��2018-02-10
-
 Photoshop���������|�е�3D���w�֡�Ӣ��2018-01-09
-
 Photoshop�OӋ����ȼ��ˇ�g�ֽ̡̳�Ӣ��2018-01-09
-
Photoshop�������L�������ƬЧ����Ӣ��
���P����11882018-04-23
-
Photoshop�ϳɱ�����Ч�Ľ��~������Ӣ��
���P����34052018-02-10
-
 Photoshop�����S���|�����w�֡�Ӣ��
���P����7422018-02-10
Photoshop�����S���|�����w�֡�Ӣ��
���P����7422018-02-10
-
 Photoshop�����@�G����3D���w��
���P����14682018-02-10
Photoshop�����@�G����3D���w��
���P����14682018-02-10
-
Photoshop�ϳɉ����L���ɭ�ֈ�����Ӣ��
���P����24492018-02-10
-
Photoshop�ϳ�����ʩ��������Ӣ��
���P����8372018-02-10
-
 Photoshop�������p���ع����w
���P����6532018-01-09
Photoshop�������p���ع����w
���P����6532018-01-09
-
 Photoshop����ľ�ذ�LOGO��ӡЧ����Ӣ��
���P����19272018-01-09
Photoshop����ľ�ذ�LOGO��ӡЧ����Ӣ��
���P����19272018-01-09
