Photoshop�����ǹ��b�ʥ�Q�䡾Ӣ��(2)
����Դ�� Tutsplus�����x���� Marko Kožokar �o�҂����������ʵ����£�Step 7
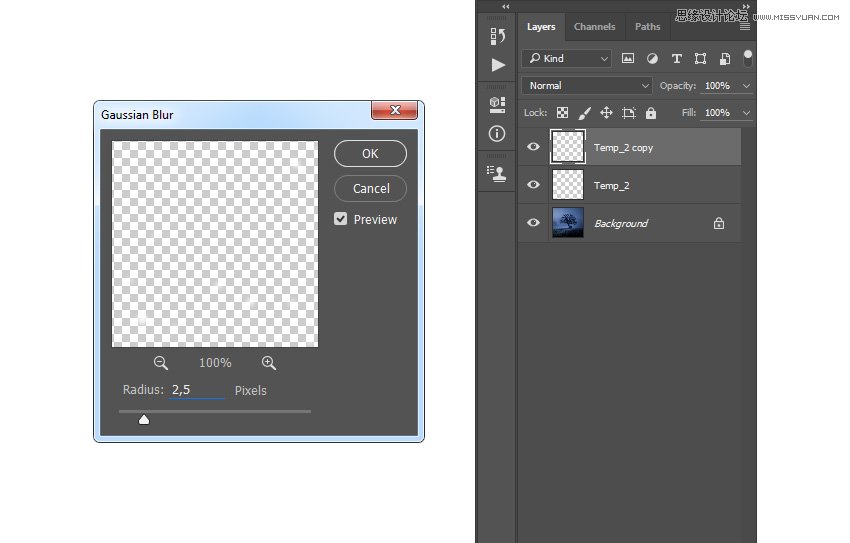
Now Right-click on the Temp_1 layer and choose Delete Layer. Then, select the Temp_2 layer and press Control-J on your keyboard to duplicate this layer. After that, go to Filter > Blur > Gaussian Blur and set the Radius to 2.5 px as shown below:
Step 8
Press Control-J on your keyboard to duplicate this layer again, go to Filter > Blur > Gaussian Blur, and set the Radius to 5 px as shown below. Then, press Control-J on your keyboard once more, go to Filter > Blur > Gaussian Blur, and set the Radius to 9.5 px as shown below:

Step 9
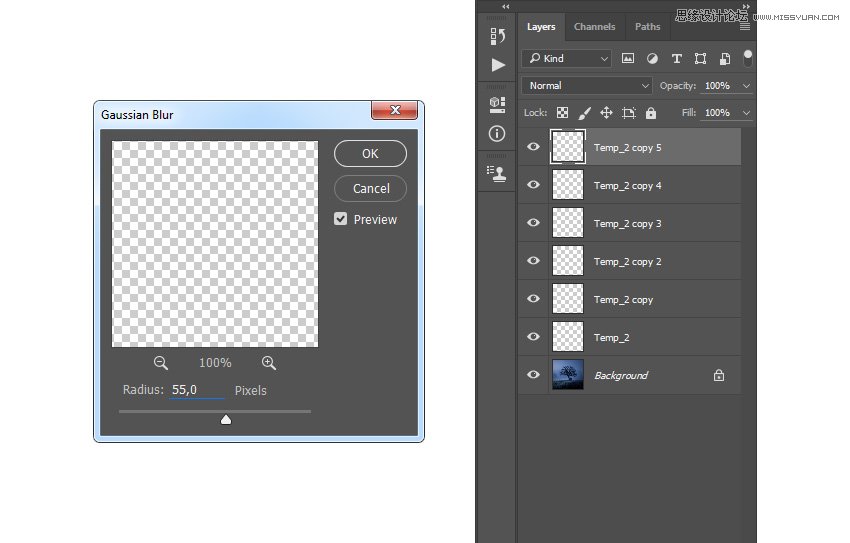
Now press Control-J on your keyboard twice to duplicate this layer twice. Then, go to Filter > Blur > Gaussian Blur and set the Radius to 55 px as shown below:
Step 10
Press Control-J on your keyboard twice again to duplicate this layer two more times. Then, Shift-click on the Temp_2 layer to select all layers between, and then press Control-E to merge them into one layer.
Step 11
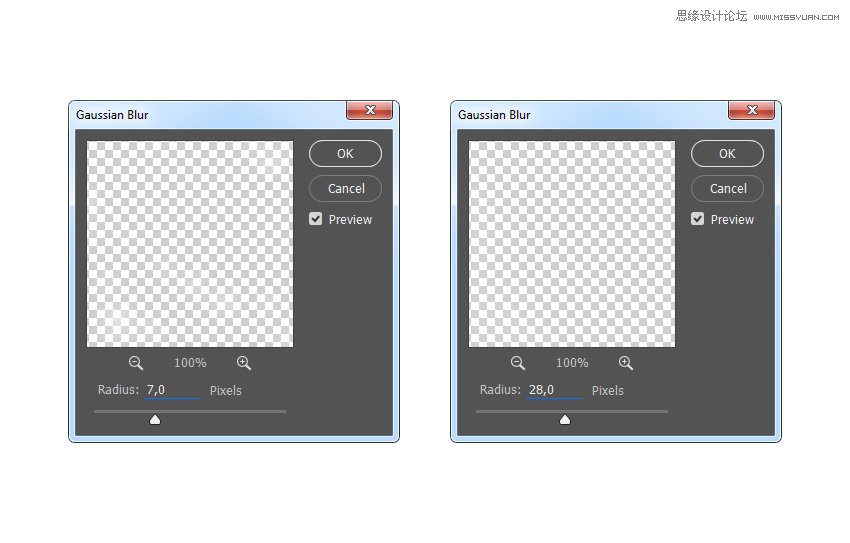
Press Control-J on your keyboard to duplicate this layer, go to Filter > Blur > Gaussian Blur, and set the Radius to 7 px as shown below. Then, press Control-J on your keyboard once more, go to Filter > Blur > Gaussian Blur, and set the Radius to 28 px.
Step 12
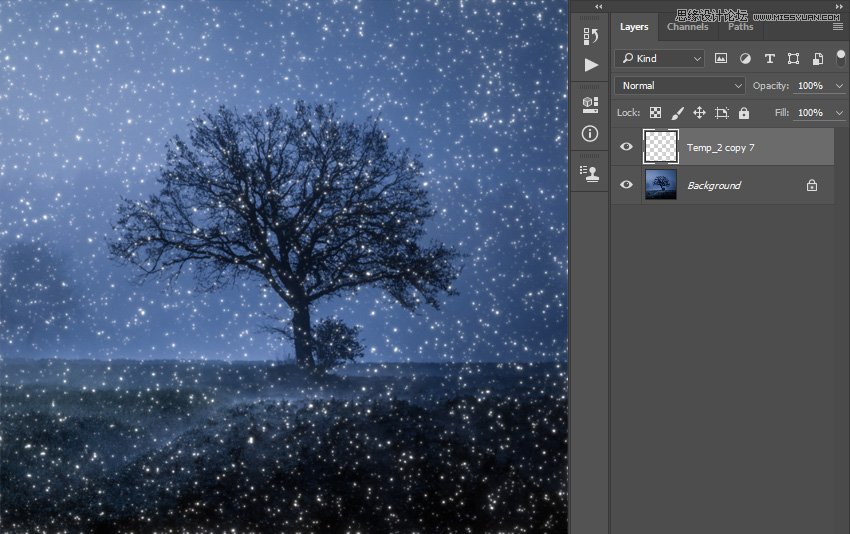
Now Shift-click on the Temp_2 copy 7 layer to select all layers between, and press Control-E on your keyboard to merge them into one layer. Then, name this layer Sparkles_1.

Step 13
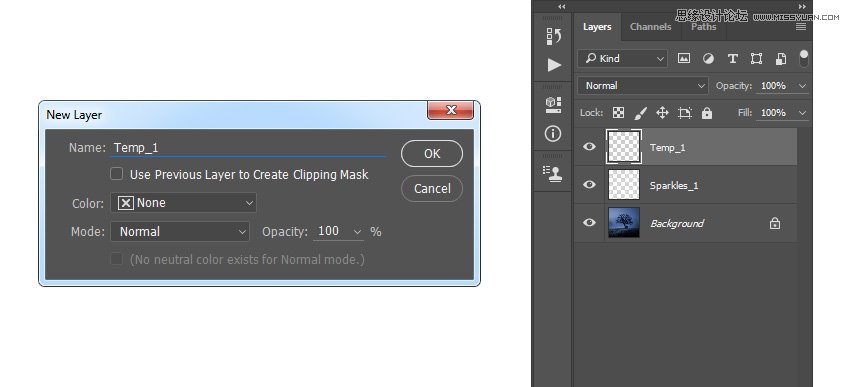
Now we are going to add more sparkles. Go to Layer > New > Layer to create a new layer and name it Temp_1.
Step 14
Set the foreground color to #000000, go to Edit > Fill, and set Contents to Foreground Color, Mode to Normal, and Opacity to 100% as shown below:

Step 15
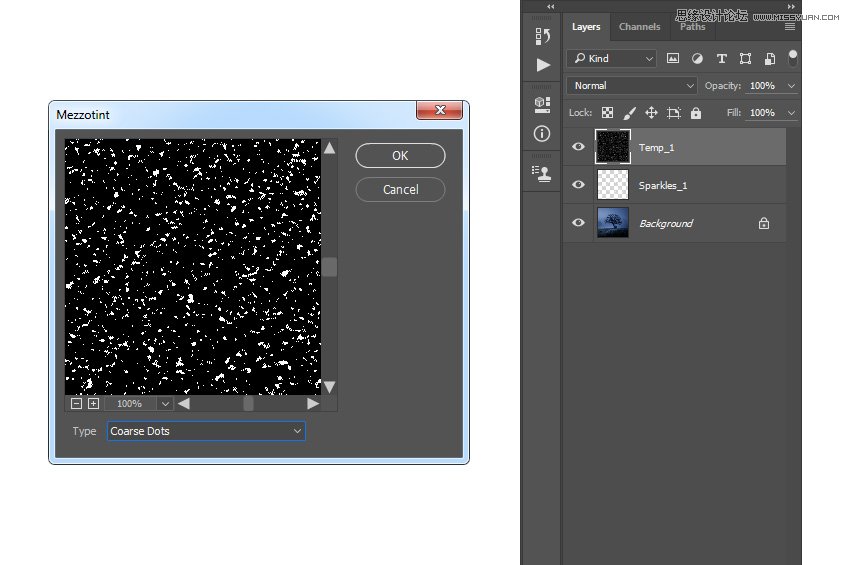
Now go to Filter > Pixelate > Mezzotint and set the Type to Coarse Dots as shown below:
 ���㲻Ҫ��
-
 Photoshop�������L�������ƬЧ����Ӣ��2018-04-23
-
 Photoshop�ϳ��L����������L�i¹��Ӣ��2018-04-23
-
 Photoshop�ϳɱ�����Ч�Ľ��~������Ӣ��2018-02-10
-
 Photoshop�ϳɉ����L���ɭ�ֈ�����Ӣ��2018-02-10
-
 Photoshop�ϳ�����ʩ��������Ӣ��2018-02-10
-
 Photoshop���������|�е�3D���w�֡�Ӣ��2018-01-09
-
 Photoshop�OӋ����ȼ��ˇ�g�ֽ̡̳�Ӣ��2018-01-09
-
 Photoshop����ë����ʥ�Q�����w��Ӣ��
���P����8882017-12-16
Photoshop����ë����ʥ�Q�����w��Ӣ��
���P����8882017-12-16
