Photoshop�ϳɳ��б����ǹ��������Ӣ��(3)
����Դ�� Photoshoptutorials�����x���� Jarka Hrnč��rko �o�҂����������ʵ����£�Step 7 – Creating Stronger Atmosphere
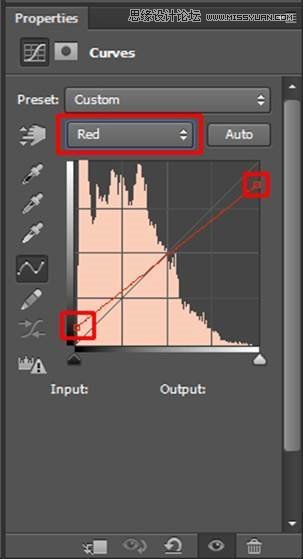
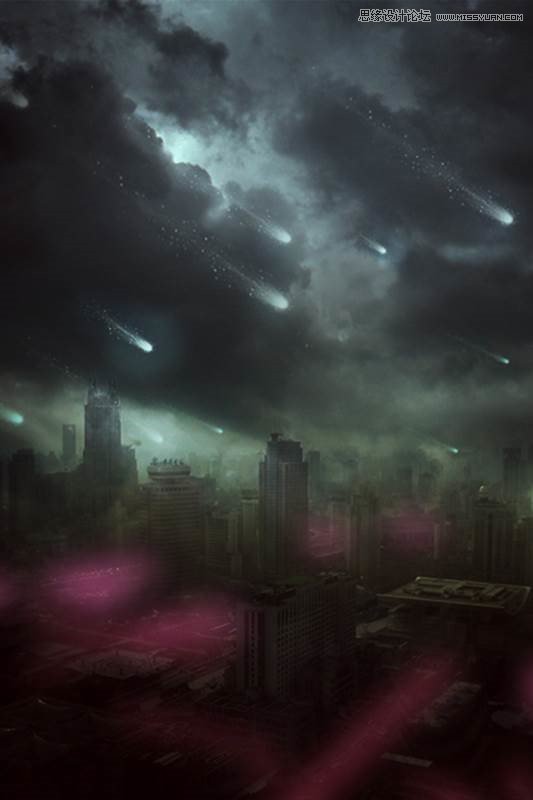
When I was creating this photo manipulation I had some big, polluted city from the future in my mind. For me this mood can be captured by adding red tones to do the image and by darkening it. You’ll do both in this step. First add new adjustment layer Curves on the top of all layers and set them as on the following image. This way you add red tones to shadows of your image and cyan tones to highlights.
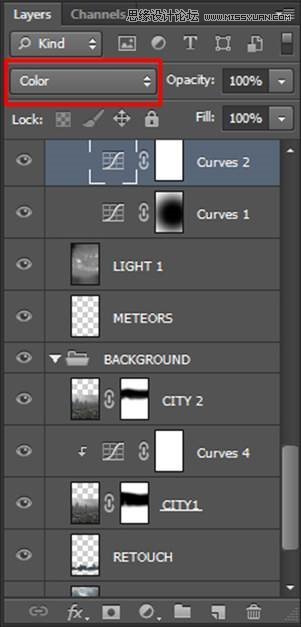
Change the Blending Mode of this layer from Normal to Color for better effect.
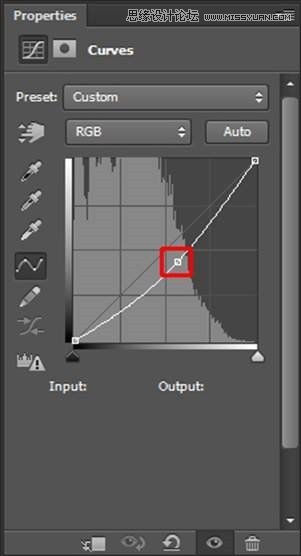
Now you make the image bit darker. Add another adjustment layer Curves on the top of the layers and set it as on the following picture.
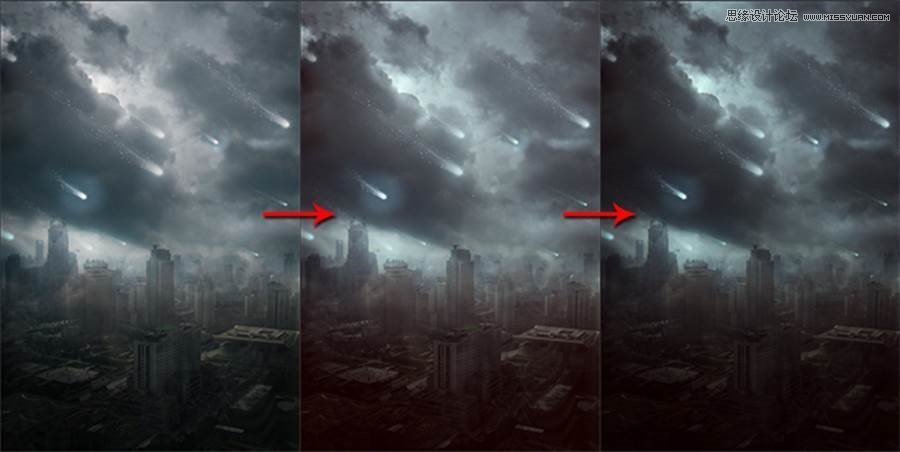
On the following image you can see the adjustments you’ve made in this step.
Step 8 – Darkening the Sky
Sky on the image should be bit more darker to create more balanced feel. To fix that add new adjustment layer Curves and set it as on the following image.
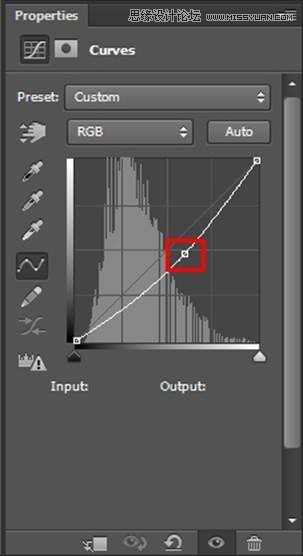
You want to adjust only the upper part of the image. To do that first you need to grab the Paint Bucket Tool (G), pick black color and fill the layer mask of this adjustment layer with it.

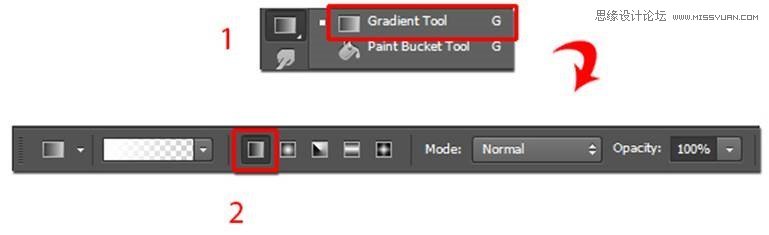
Grab the Gradient Tool (G), pick white color and select Linear Gradient.
Fill the upper part of layer mask with this gradient. You can get the idea where to use the gradient on the following image. I highlighted it with red color.
Step 9 – Adding Smog
Another color that comes in hand with pollution (according to me at least) is green. In this step you’ll add green smog on the horizon to add even more atmosphere. Add new empty layer on the top of all layers and name it SMOG. Grab the Gradient Tool (G) and this time select Reflected Gradient.

Pick some green color (I used #6c7345) and create gradient as on the picture below.

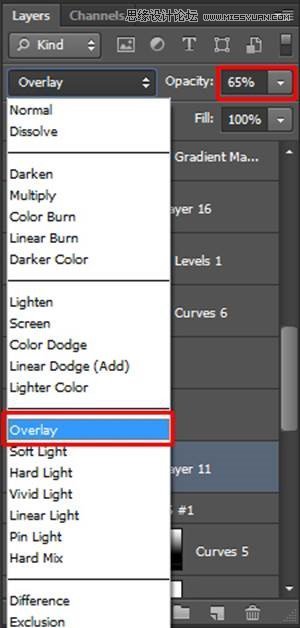
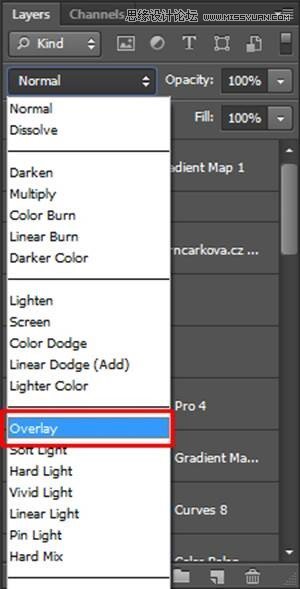
To blend it well with the rest of the image change its Blending Mode from Normal to Overlay and lower its Opacity on about 65%.
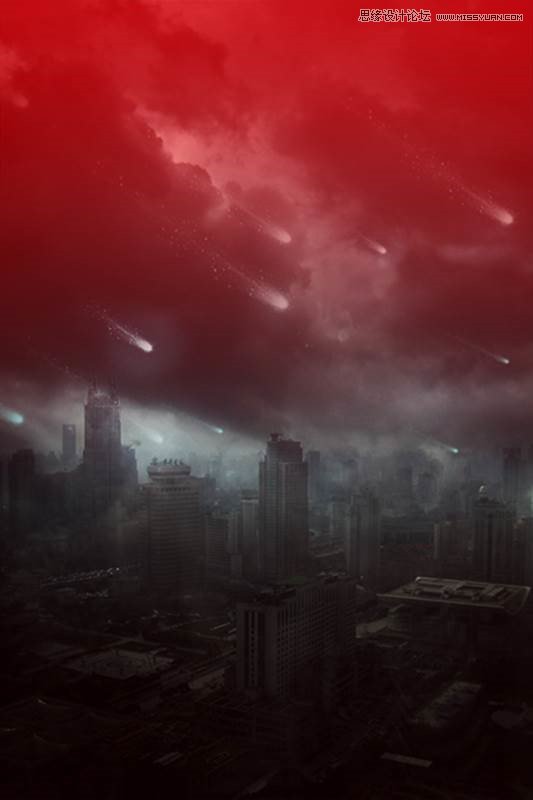
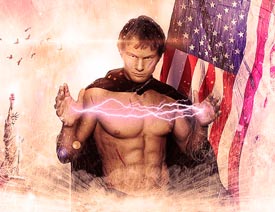
On the following photo you can see how your photo manipulation should look like so far.

Step 10 – Red Cars
I believe that the the bottom part of the image where streets of the city are is quite uninteresting right now. You’ll add interest by creating red lights around the roads. It would look like there is lots of traffic down there. Add new empty layer on the top of all layers and name it CARS. Grab the Brush Tool (B), pick some soft round brush and lower its Opacity on about 40%. Pick some reddish colors and start painting over the roads. Look at the following picture to get the idea where you should paint.
To blend it with the rest of the image change Blend Mode of this layer from Normal to Overlay.
 ���㲻Ҫ��
-
 Photoshop�������L�������ƬЧ����Ӣ��2018-04-23
-
 Photoshop�ϳ��L����������L�i¹��Ӣ��2018-04-23
-
 Photoshop�ϳɱ�����Ч�Ľ��~������Ӣ��2018-02-10
-
 Photoshop�ϳɉ����L���ɭ�ֈ�����Ӣ��2018-02-10
-
 Photoshop�ϳ�����ʩ��������Ӣ��2018-02-10
-
 Photoshop���������|�е�3D���w�֡�Ӣ��2018-01-09
-
 Photoshop�OӋ����ȼ��ˇ�g�ֽ̡̳�Ӣ��2018-01-09
-
Photoshop�ϳɱ�����Ч�Ľ��~������Ӣ��
���P����34052018-02-10
-
Photoshop�ϳɉ����L���ɭ�ֈ�����Ӣ��
���P����24492018-02-10
-
 Photoshop�ϳɄ����Ӣ�ۑ����̡̳�Ӣ��
���P����5802017-12-12
Photoshop�ϳɄ����Ӣ�ۑ����̡̳�Ӣ��
���P����5802017-12-12
