Photoshop�ϳ�����ʩ��������Ӣ��(4)
����Դ�� photoshoptutorials.ws�����x���� MARIA SEMELEVICH �o�҂����������ʵ����£�Step 55
Our brush loaded! Now in window Brush Presets, select the brush smoke what you like. I use this.
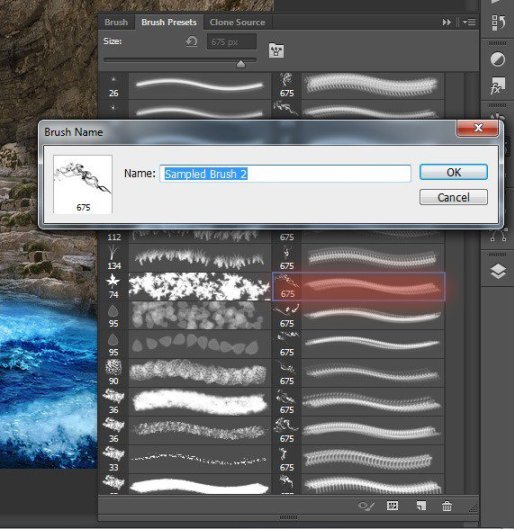
Brush settings: Size: 675px, Hardness: 0% Opacity: 100%, Flow: 100%, color: #dfdfdf, angle: 11° I deliberately did not choose white, because gray will look slightly more realistic than white.
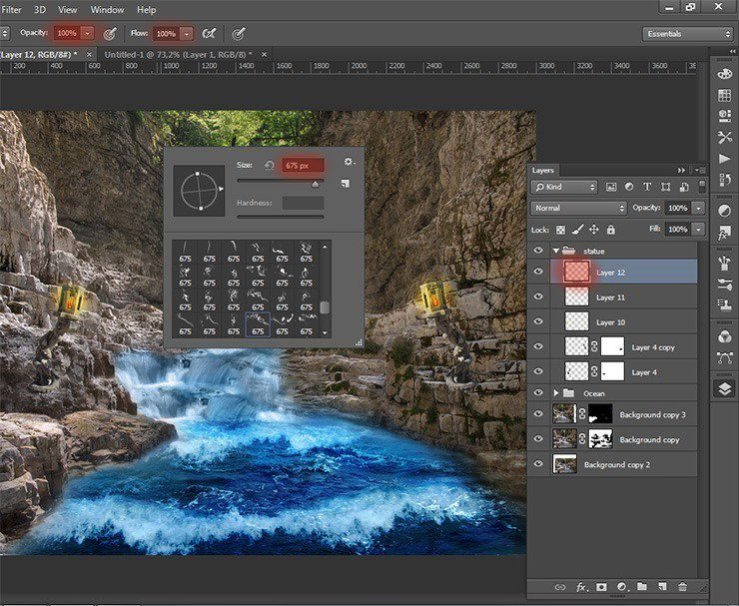
Step 56
I added more smoke another smoke brush. Tinctures remain the same brush. Here is the result.
Step 57
Now proceed to the very delicate and important parts of the image – creating a model. Go to File > Place and select the image of model. Now reduce the size put it at the source of the waterfall.
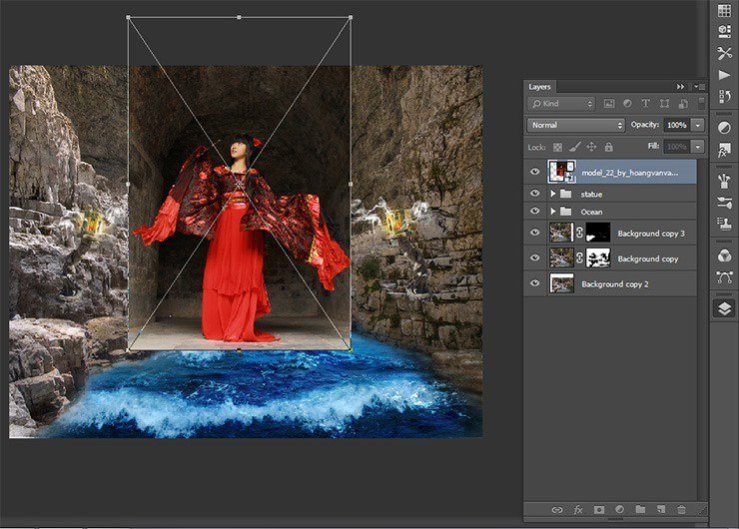
Step 58
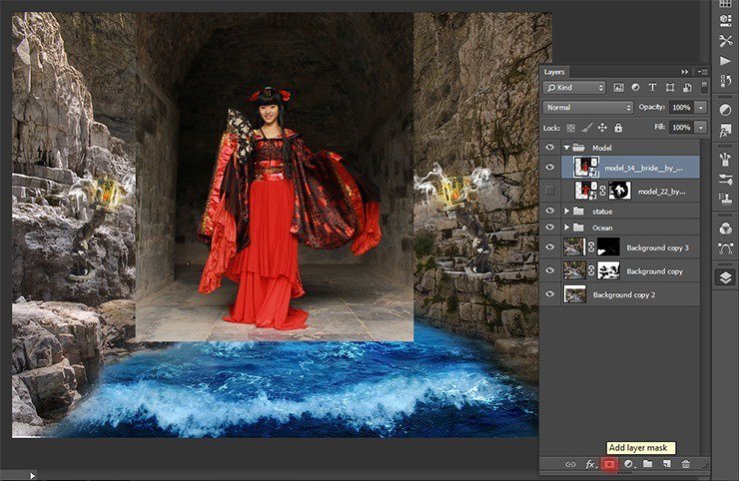
Add a layer with the model in a group. Name it “Model”.
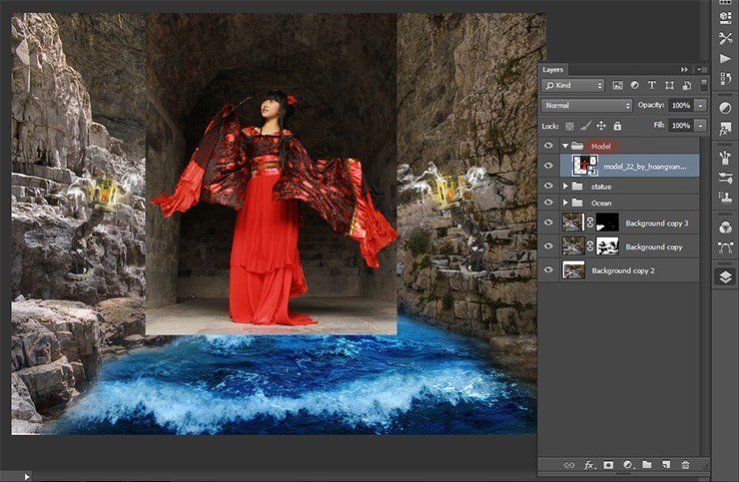
Step 59
Add a layer mask to a layer with the model. Select Brush Tool (B) with settings: Size: 150px, Hardness: 25% Opacity: 100%, Flow: 100%. Thoroughly clean background. Try not to remove parts of the costume.
Step 60
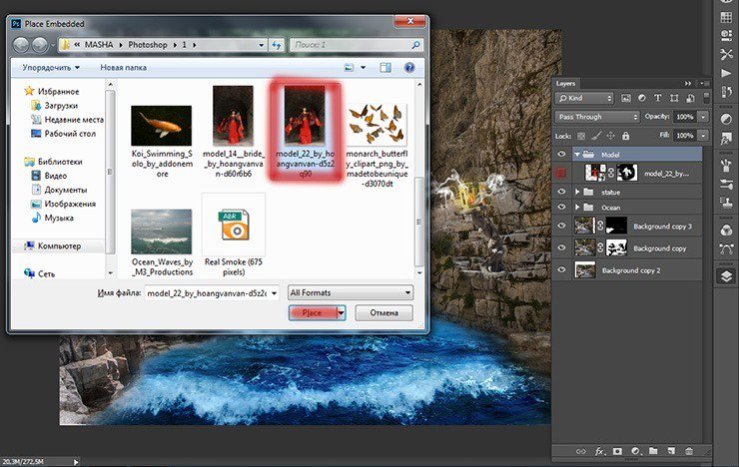
Add the following picture with the model Go to File > Place and select the image of model. Very important to follow the sequence of overlay models differently nothing will turn.
Step 61
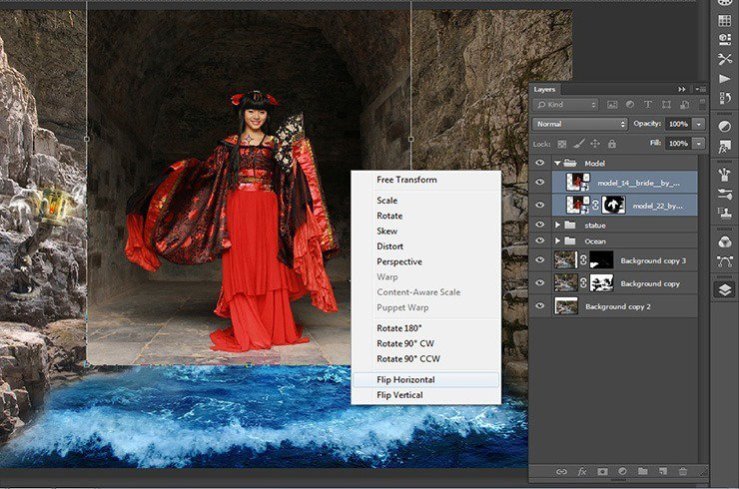
Resize to the size of our model and reflect both models horizontally. Clamp the Shift and click the short key Ctrl+ T, Right click in any field pattern and in drop-down list, select Flip Horizontal.
Step 62
add a mask to layer with second model.
Step 63
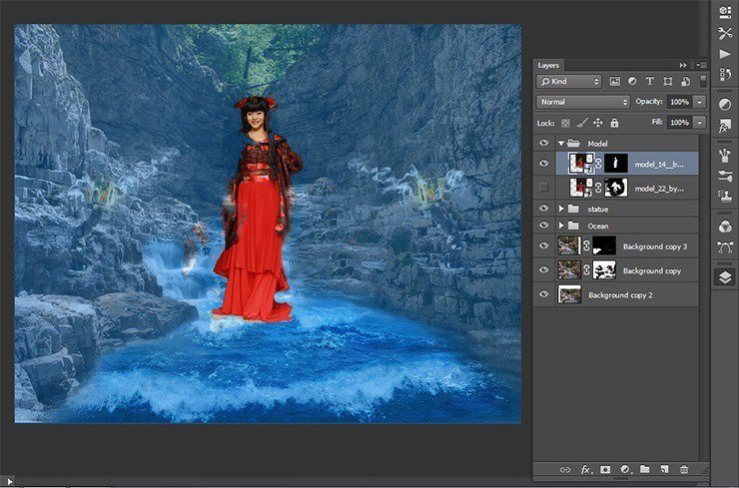
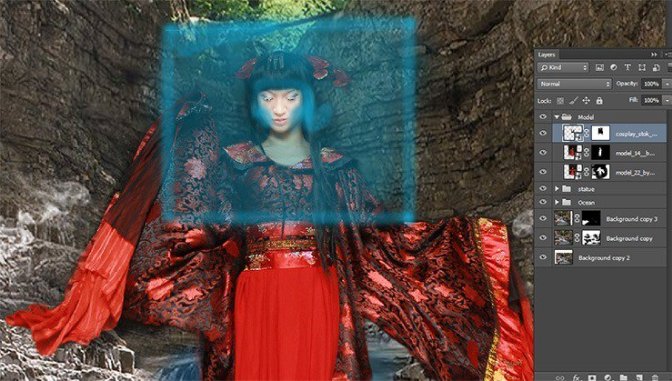
Then remove the background with brush in these settings: Size: 150px, Hardness: 0% -100% Opacity: 100%, Flow: 100%. Blue boxes it that you want to remove.
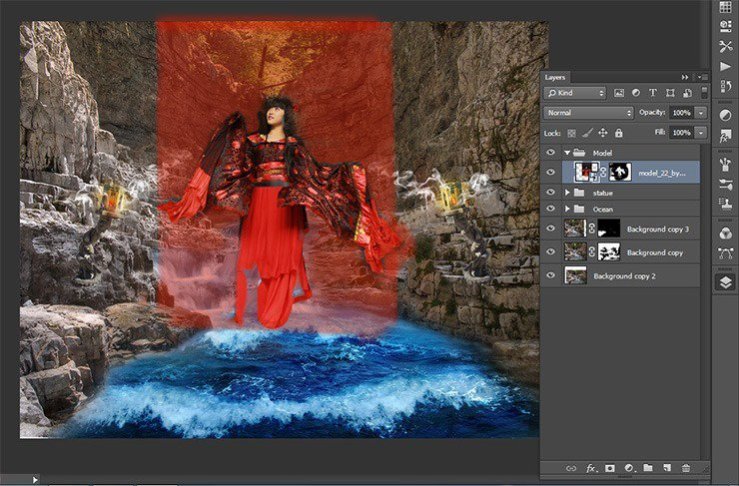
Step 64
Try to fit the size of the models that they were identical. To do this, transform it, if needed. Remove the background near the dress very carefully! Change the settings hardness brush. Around the model should not be a glow, so remove unnecessary only a very hard brush. This selection of the second model.
Blue shows where you have to remove the second part of the model to create the figure of what we need. Experiment! Combine hard and soft brush. Remove superfluous.
Step 65
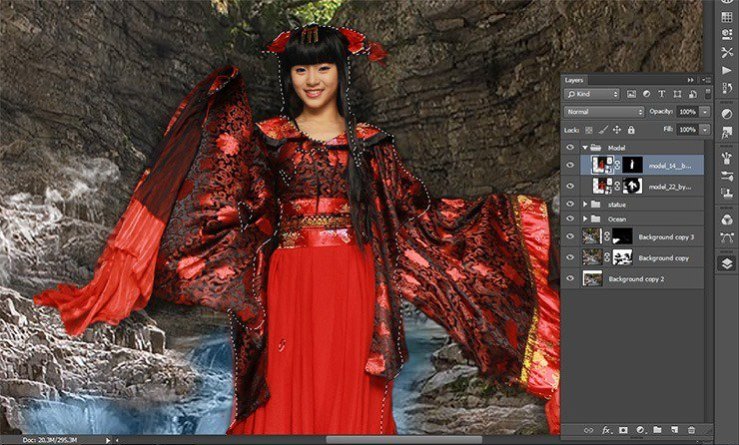
I do not like the expression on her face, so I found a more suitable option. Open girl – angel image, pressing Ctrl+ O or File> Open.
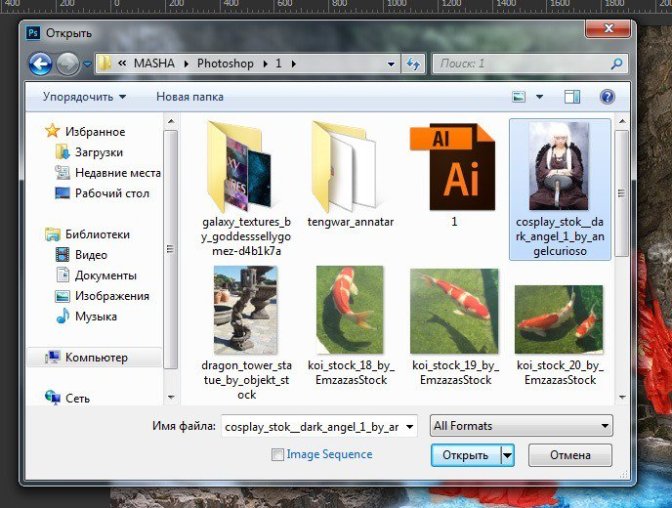
Step 66
Select the Rectangular Marquee Tool (M) and select the part of the portrait. After selection, click on the Move Tool (V). Grab the selection and drag it to our work.
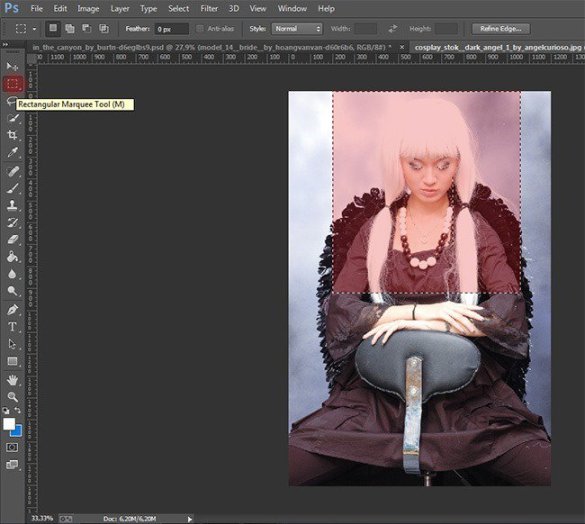
Step 67
Transform it to the desired size the short key Ctrl+ T. Right click in any field pattern and in drop-down list, select Flip Horizontal.
Step 68
Add a layer mask. Select the Brush Tool (B) and set the following settings: Size: 70px, Hardness: 0% – 100% Opacity: 100%, Flow: 100%.
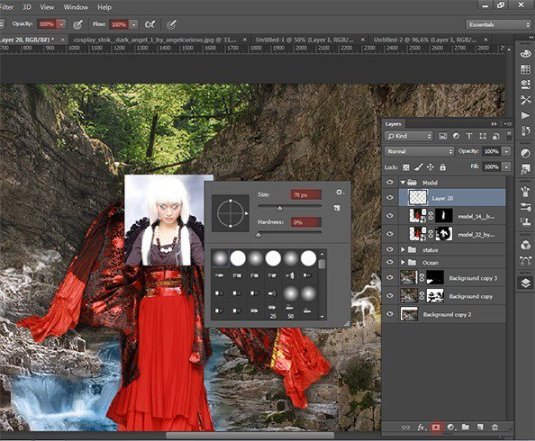
Step 69
Carefully remove any excess. Remove some of the cheeks using a Brush Tool (B): Size: 50px, Hardness: 0% Opacity: 100% Flow: 70%.
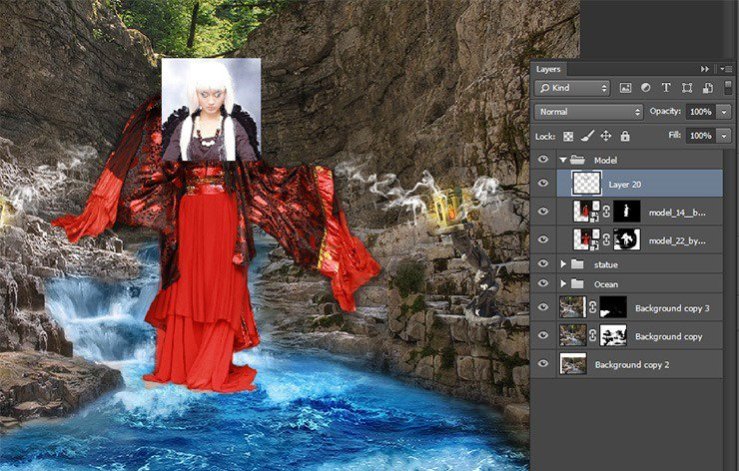
Step 70
The model is almost ready! Go to the layer the first model. Select the Rectangular Marquee Tool (M). Circle the hairpin and copy the short key Ctrl+ C. Paste it the short key Ctrl+ V and Flip Horizontal. Put it symmetrically second.
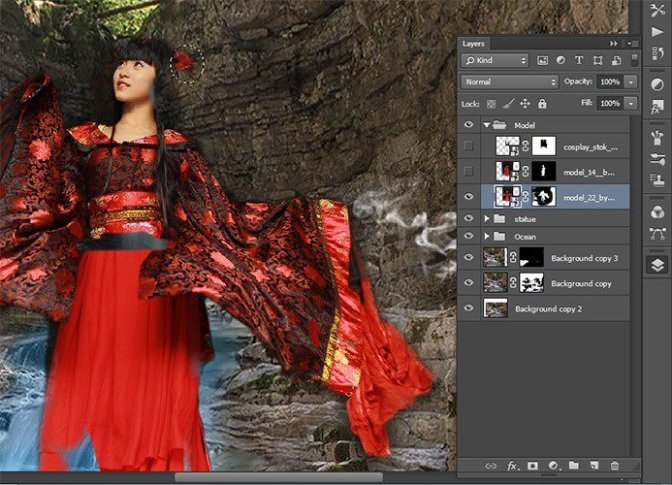
Step 71
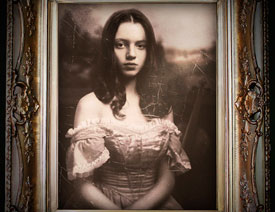
Finally, I made a model. Here is the finished result.
Step 72
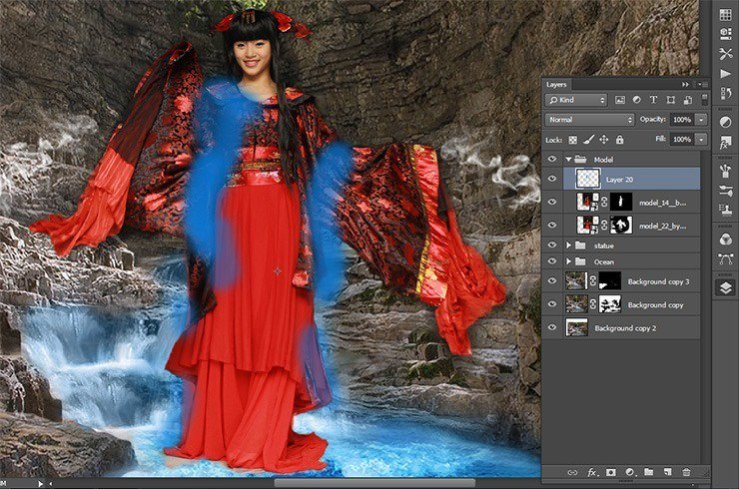
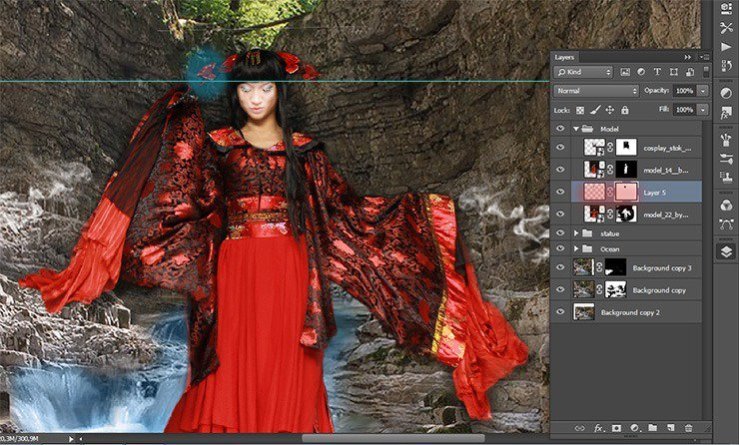
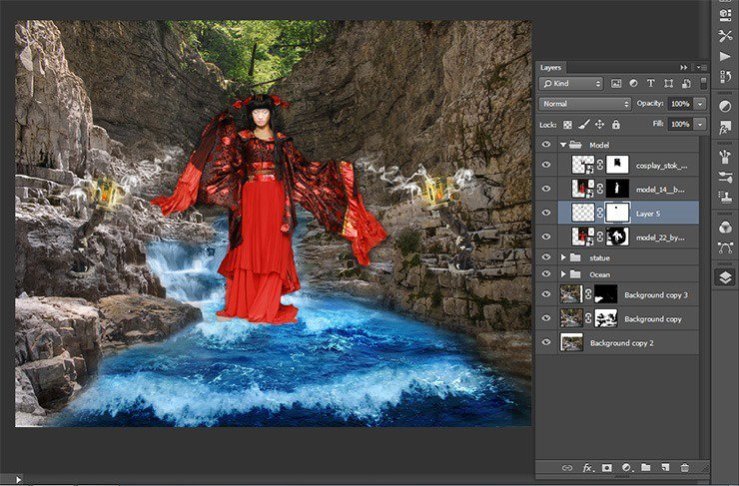
Now add the fish in the picture, because it will be very difficult to work with small objects. I believe that the fish give a dynamic picture. Let’s get started! Open fish image, pressing Ctrl+ O or File> Open. To open multiple images at once, hold down the Shift.
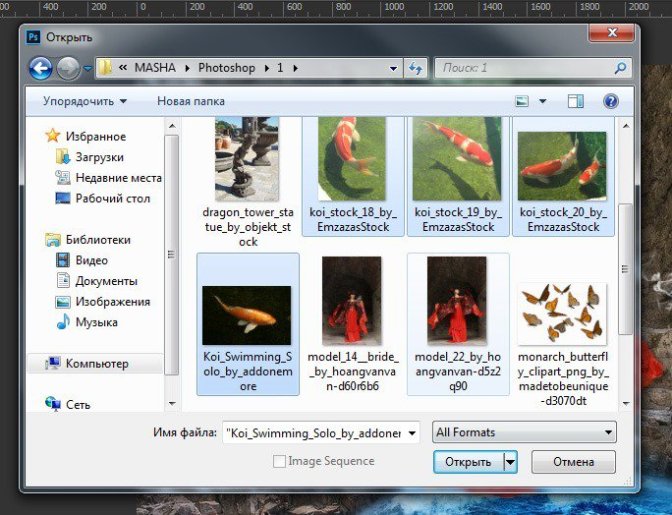
Step 73
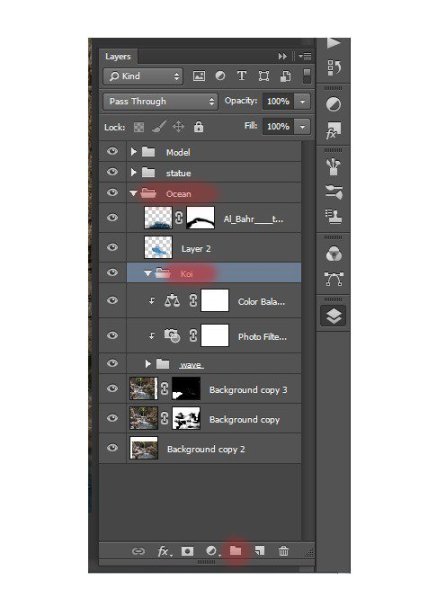
So back to the group “Ocean”. Create a group there. Call it “Koi”. So, it will be easier to work with layers.
 ��ǵ���
-
 Photoshop�������L�������ƬЧ����Ӣ��2018-04-23
-
 Photoshop�ϳ��L����������L�i¹��Ӣ��2018-04-23
-
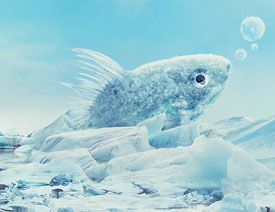 Photoshop�ϳɱ�����Ч�Ľ��~������Ӣ��2018-02-10
-
 Photoshop�ϳɉ����L���ɭ�ֈ�����Ӣ��2018-02-10
-
 Photoshop�ϳ�����ʩ��������Ӣ��2018-02-10
-
 Photoshop���������|�е�3D���w�֡�Ӣ��2018-01-09
-
 Photoshop�OӋ����ȼ��ˇ�g�ֽ̡̳�Ӣ��2018-01-09
-
Photoshop�������L�������ƬЧ����Ӣ��
���P����11882018-04-23
-
Photoshop�ϳ��L����������L�i¹��Ӣ��
���P����13832018-04-23
-
Photoshop�ϳɱ�����Ч�Ľ��~������Ӣ��
���P����34052018-02-10
-
 Photoshop�����S���|�����w�֡�Ӣ��
���P����7422018-02-10
Photoshop�����S���|�����w�֡�Ӣ��
���P����7422018-02-10
-
 Photoshop�����@�G����3D���w��
���P����14682018-02-10
Photoshop�����@�G����3D���w��
���P����14682018-02-10
-
Photoshop�ϳɉ����L���ɭ�ֈ�����Ӣ��
���P����24492018-02-10
-
 Photoshop�������p���ع����w
���P����6532018-01-09
Photoshop�������p���ع����w
���P����6532018-01-09
-
 Photoshop����ľ�ذ�LOGO��ӡЧ����Ӣ��
���P����19272018-01-09
Photoshop����ľ�ذ�LOGO��ӡЧ����Ӣ��
���P����19272018-01-09
